
f you’ve been watching USDJPY closely, this is one of those moments where patience is going to separate disciplined traders from emotional ones. Price is sitting in a very sensitive area, and how you handle this next move matters.
Let’s break it down the right way using structure, price location, and of course… BRACE.
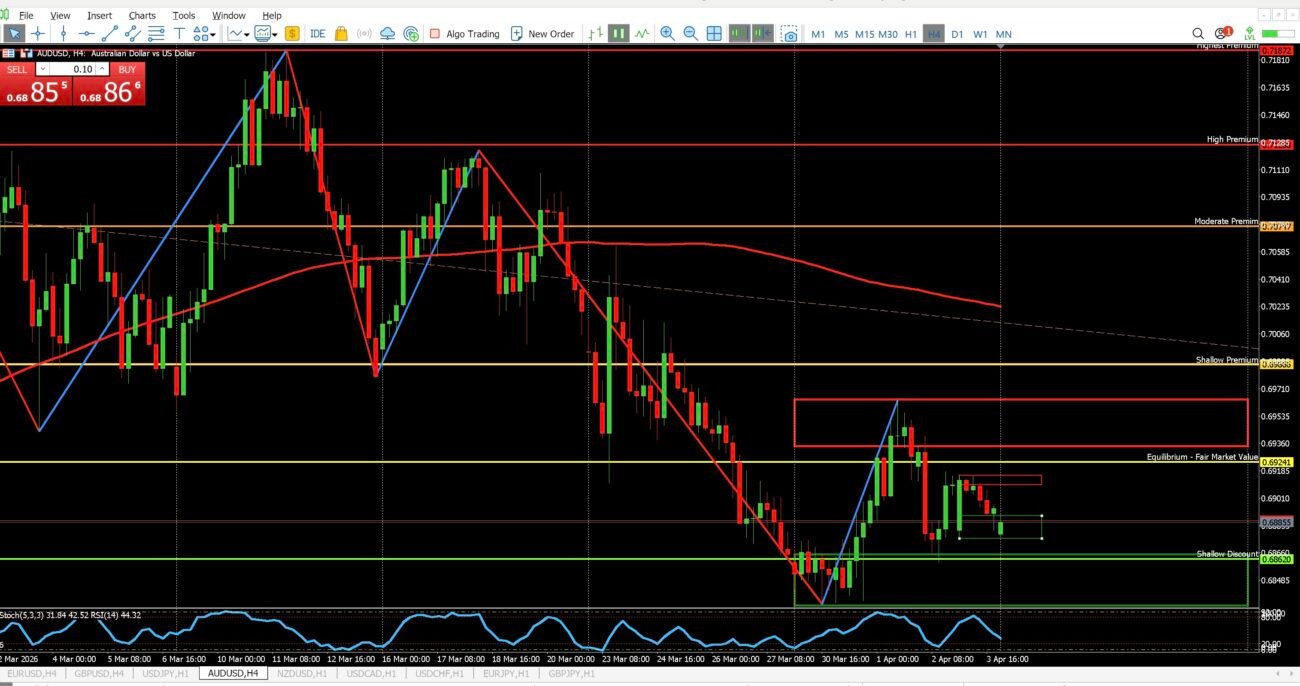
4 Hour Chart Perspective – Premium Pricing Under Pressure
On the 4 hour chart, price is clearly sitting in a premium zone. Not only that, it is trading just beneath last week’s sell zone, which is a major area of interest.
This is not where we get excited about buying. This is where we slow down and start stalking potential sell setups.
What stands out here is that price has already shown signs of rejection in this area before. That tells us sellers are active, but they have not fully taken control yet.
So what does that mean
It means this is a decision zone
- Price is at premium
- Price is near higher timeframe resistance
- Sellers have shown up before
That combination alone puts sells on the table
But here is where discipline comes in
We are not selling just because price is high. We are waiting for the market to prove it wants to move lower
That means we need BRACE to form on the 4 hour
- Break of structure to the downside
- Retest back into the zone
- Bearish confirmation candle
Until that happens, this is still just potential… not a trade
1 Hour Chart Perspective – Pressure Building Inside the Sell Zone
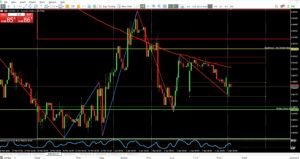
Now let’s drop down to the 1 hour, because this is where things get interesting
Price is currently sitting inside the 1 hour sell zone and it’s not just sitting quietly. It’s pressing against the top of that zone.
This is where a lot of traders make a mistake
They see price in a sell zone and immediately jump into sells
But look closer
Price is not rejecting strongly. It is actually showing signs of wanting to break higher
You can see the structure tightening, the pushes upward getting stronger, and price holding near the highs
That tells us one thing
There is pressure building
So now we have two possible paths
Scenario 1 – Clean Break Above the Sell Zone
If price breaks and closes above the 1 hour sell zone, then we do not fight that move
We adjust
- The sell zone gets invalidated
- We look for a new structure to form
- Then we wait for BRACE in the new direction
No guessing. No forcing trades
Scenario 2 – Rejection and BRACE for Sells
If price respects this zone and starts to reject, then we shift into execution mode
We wait for
- A clear break to the downside
- A retest into the zone
- A strong bearish confirmation
That is your entry
Not before
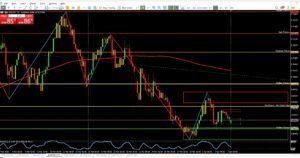
Screenshot Caption – 1 Hour Chart
USDJPY 1H chart showing price consolidating inside the sell zone with upward pressure building. Traders should watch for either a breakout above the zone or a BRACE confirmation for sells.
Putting It All Together – Timeframe Alignment Matters
Here’s the real takeaway
The 4 hour is already telling you where you are
Premium. Sell territory.
The 1 hour is telling you what price is trying to do
Test and possibly break higher
This is exactly why you do not trade blindly
You let the higher timeframe give you location
You let the lower timeframe give you execution
Right now, there is no confirmed trade
There is only a setup forming
And if you’ve been following me for any amount of time, you already know
We do not get paid for anticipation
We get paid for confirmation
Final Thought
This is a textbook moment to stay disciplined
Price is in a premium zone on the 4 hour, which favors sells
But the 1 hour is showing strength, which means the market is not ready to roll over just yet
So what do we do
We wait
Let price break
Let it retest
Let it confirm
Then and only then do we enter
Stick to BRACE and let the market come to you